In this tutorial, we will build and run a simple Workflow to validate that our setup is installed and working correctly. We will run inference on a computer vision model and visualize its output via the UI debugger.
Difficulty: Easy
Time to complete: 5 minutes
Prerequisites
This tutorial only requires a free Roboflow account and can run on the Serverless Cloud API with no setup required. This is the easiest way to get started, and you can migrate to self-hosting your Workflows later.
You can also connect from the cloud platform to an Inference Server running locally by clicking the "Running on" selector at the top left of the platform UI and pointing it to localhost or your server's IP.
Once you have an account, create a new (empty) Workflow, then continue below.
In Detached mode, you run both the Inference Server and the Workflow Builder UI locally without a Roboflow account or API key. In Detached mode, you forego cloud connected functionality like remote deployment, monitoring, integration with the cloud model hub and dataset management platform, and you are responsible for implementing your own access control.
To run on your own machine without a Roboflow account, follow the self-hosted installation instructions and start your Inference Server in development mode (using inference server start --dev).
Then, navigate to the local Workflows builder at localhost:9001/build and create an empty Workflow using the purple "Create a Workflow" button. If prompted, choose "Build My Own".
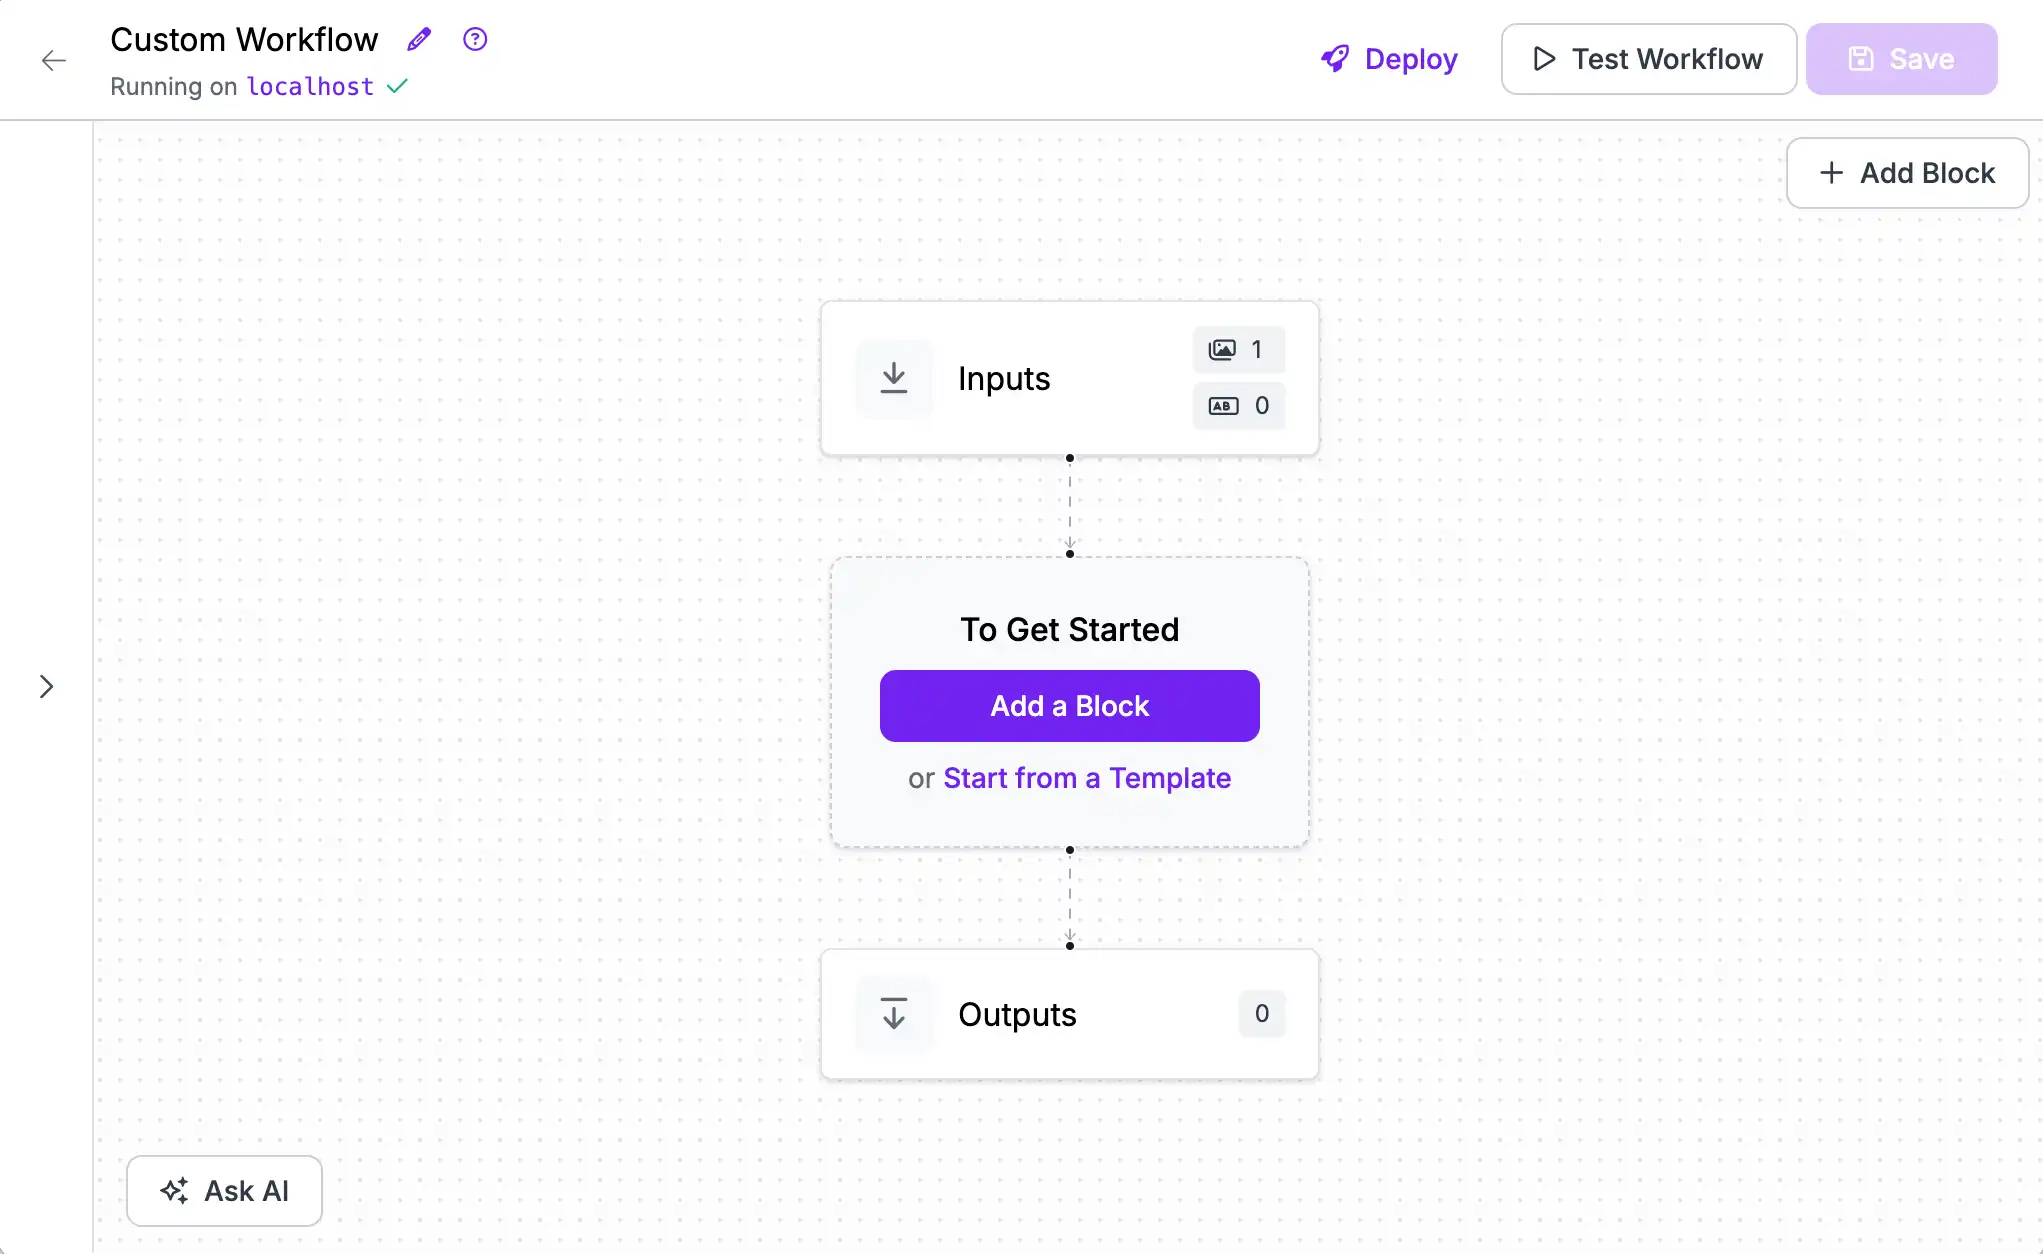
You should now have an empty Workflow and be ready to start building.
Add a model
The first step is adding a Model Block. Click "Add a Block" to open the block selection sidebar.
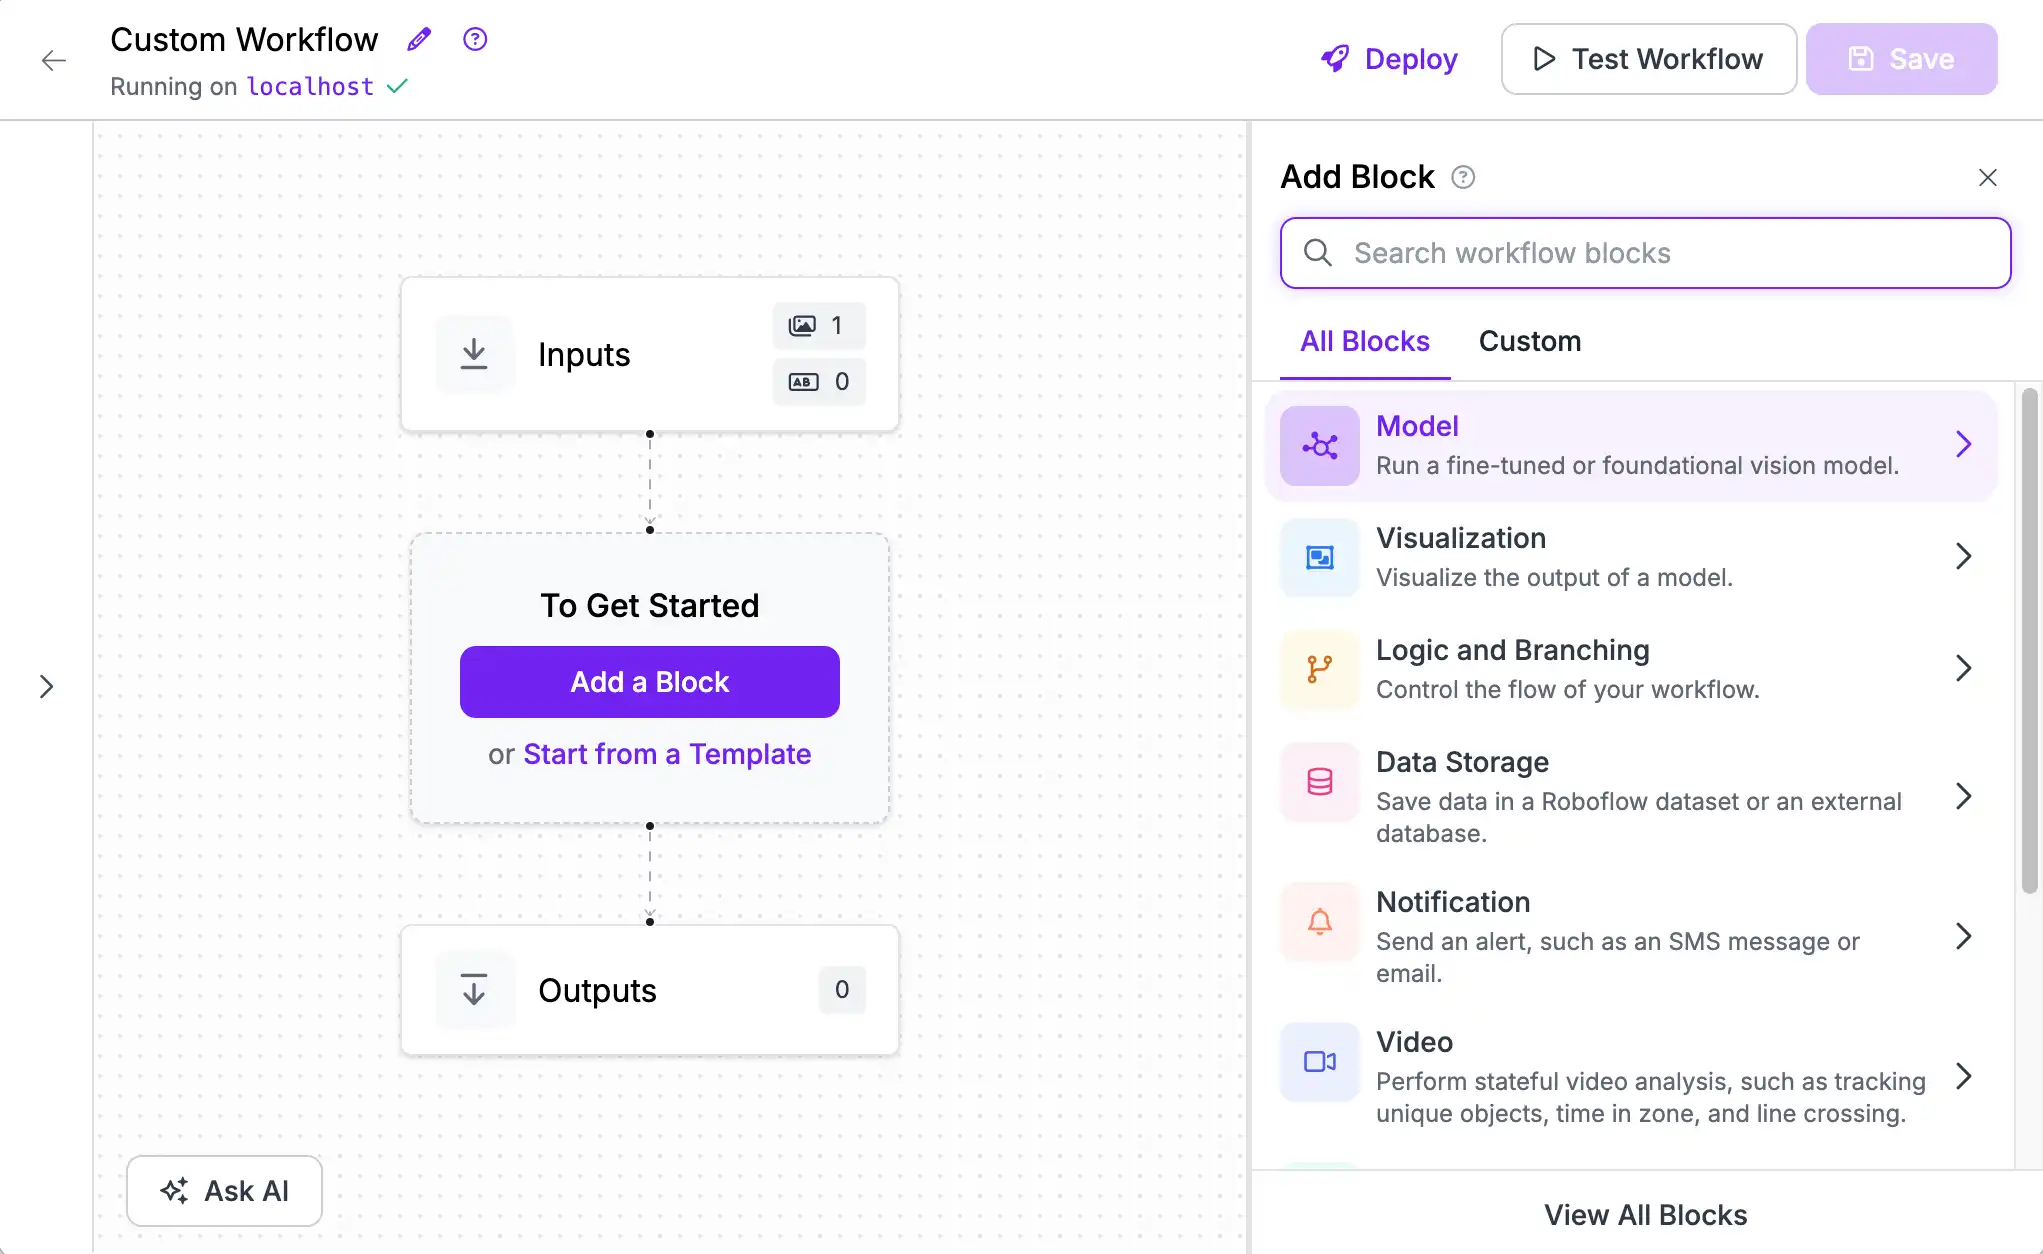
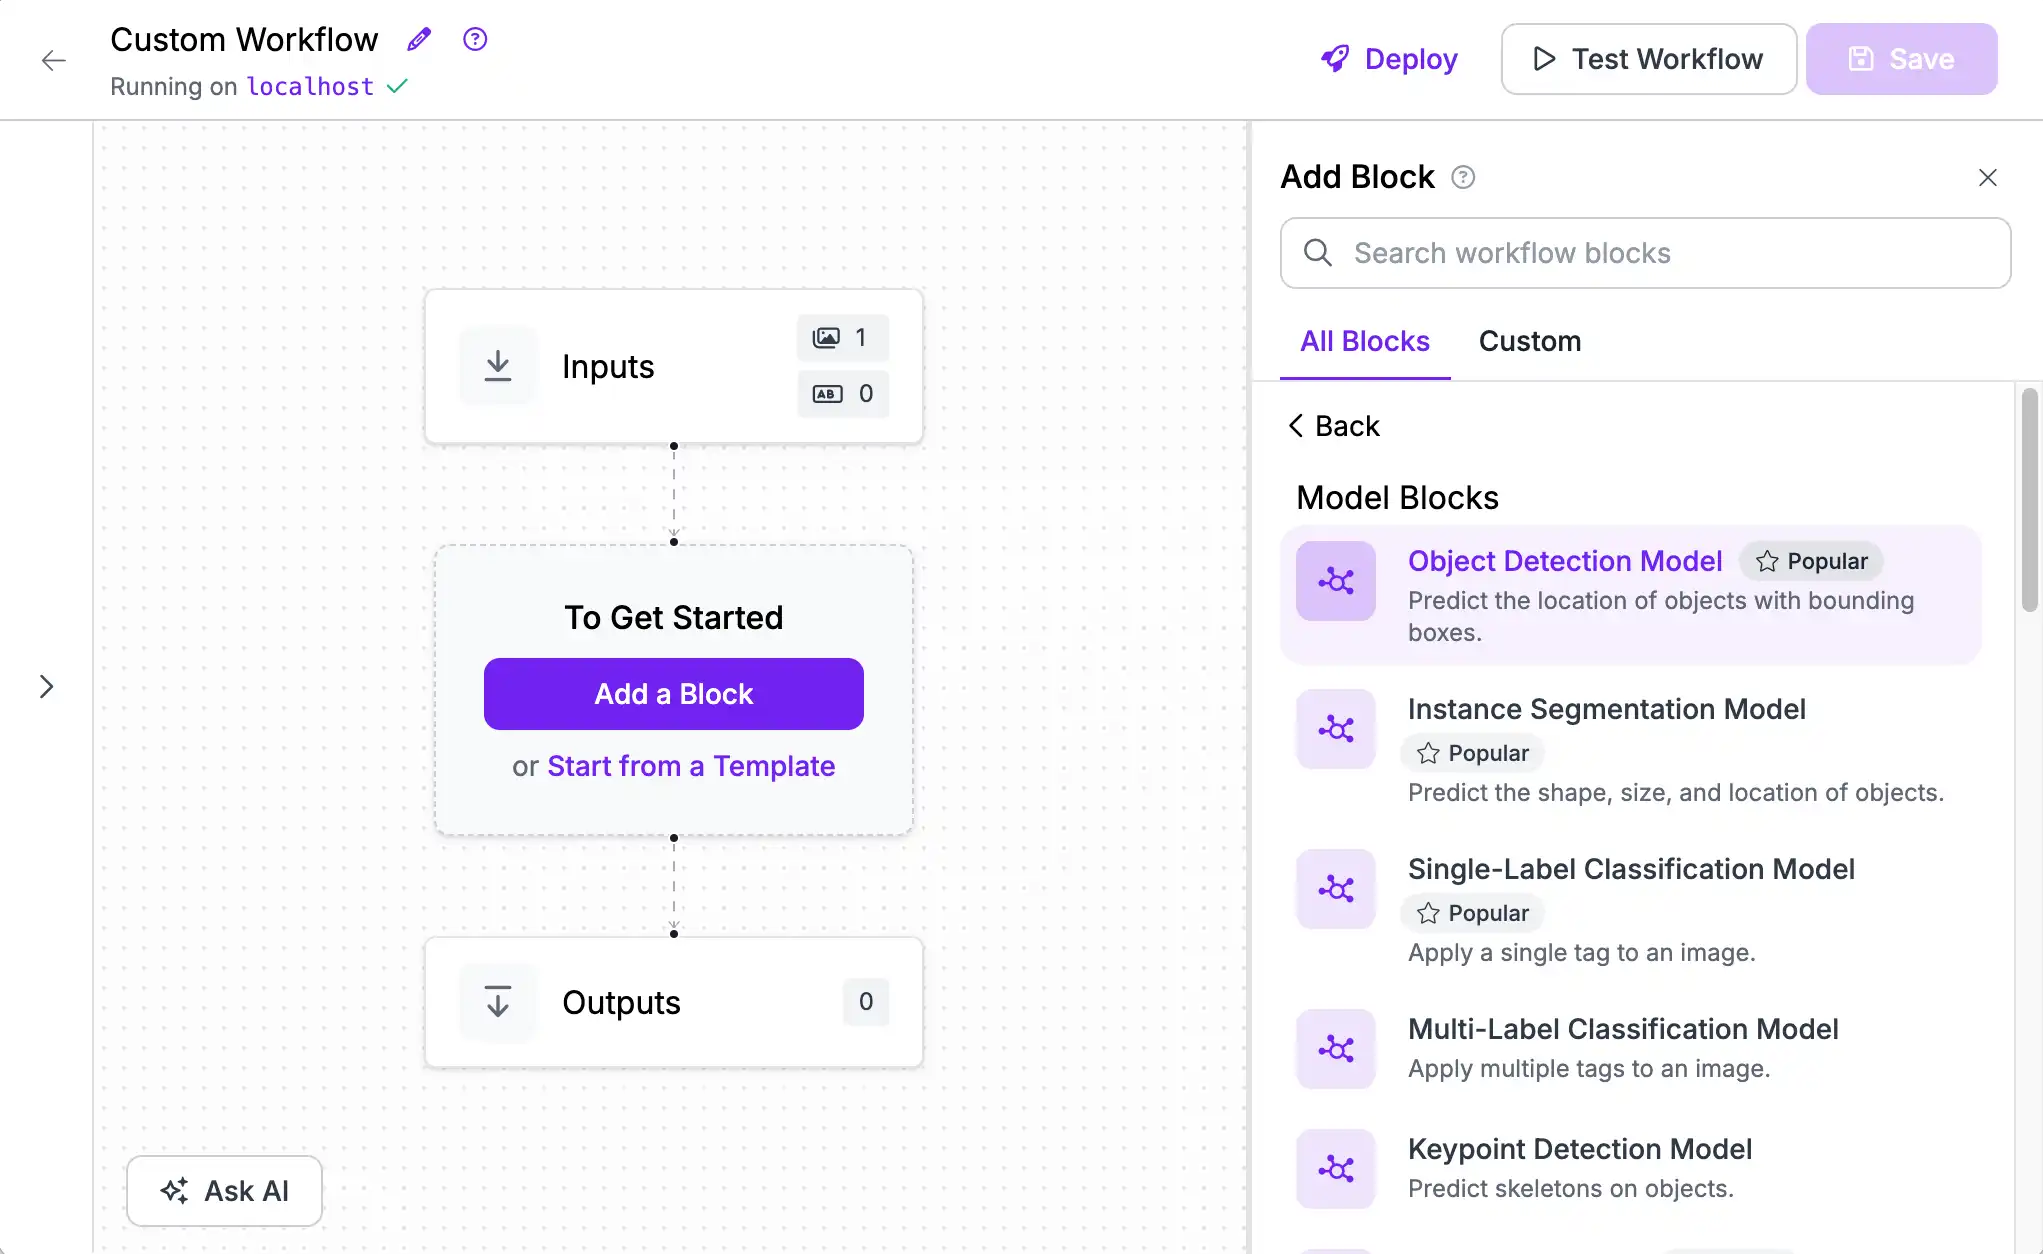
For this guide, choose the object detection model block.
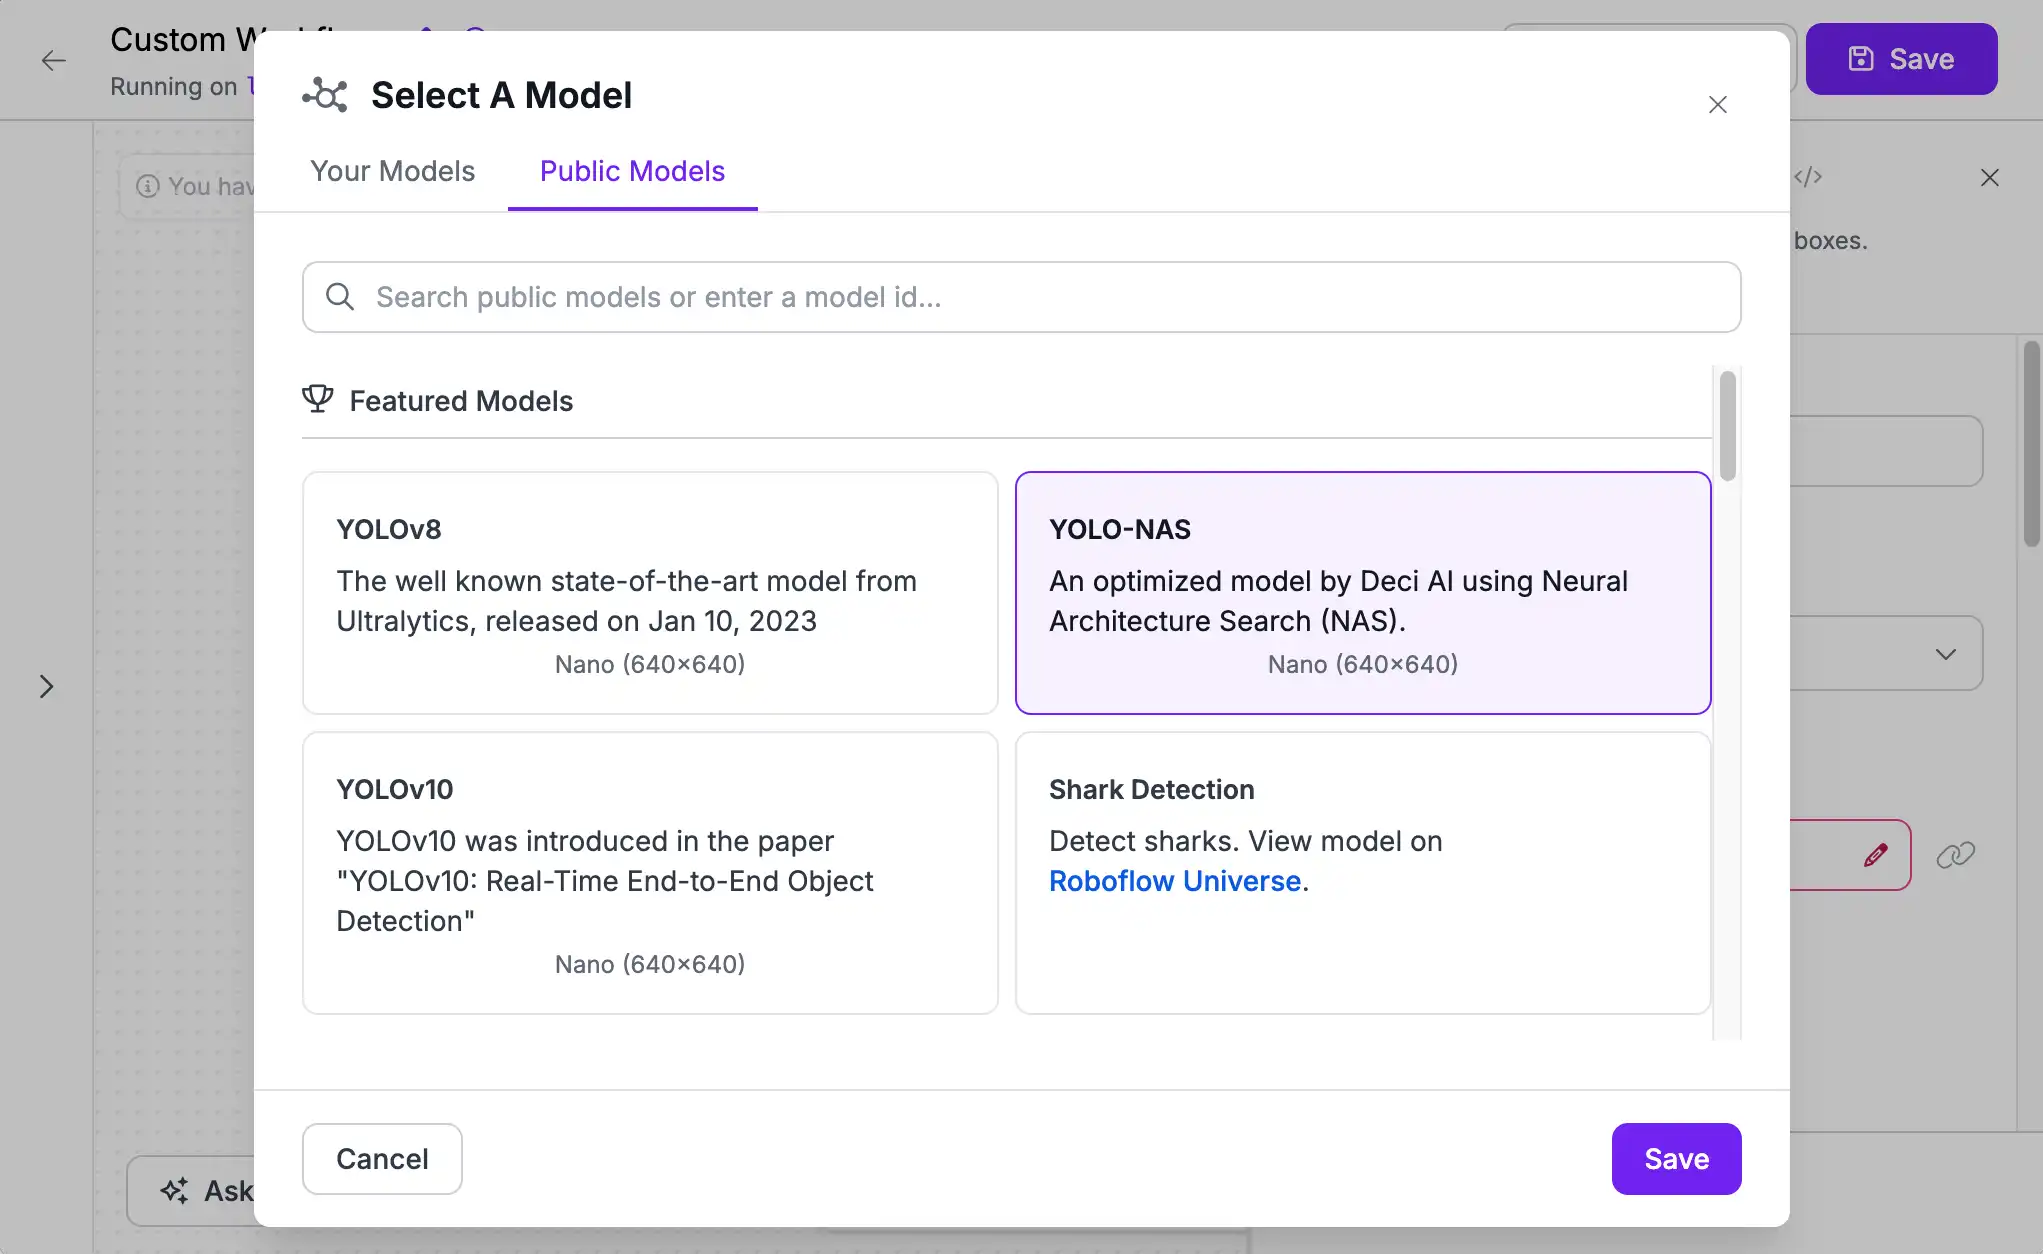
Then select a model. You can use a pre-trained model (trained on the 80 classes of common objects present in the Microsoft COCO dataset). Or, if you have linked your Roboflow account, any of your fine-tuned models or one of the 100,000+ community-trained models shared on Roboflow Universe.
Test your Workflow
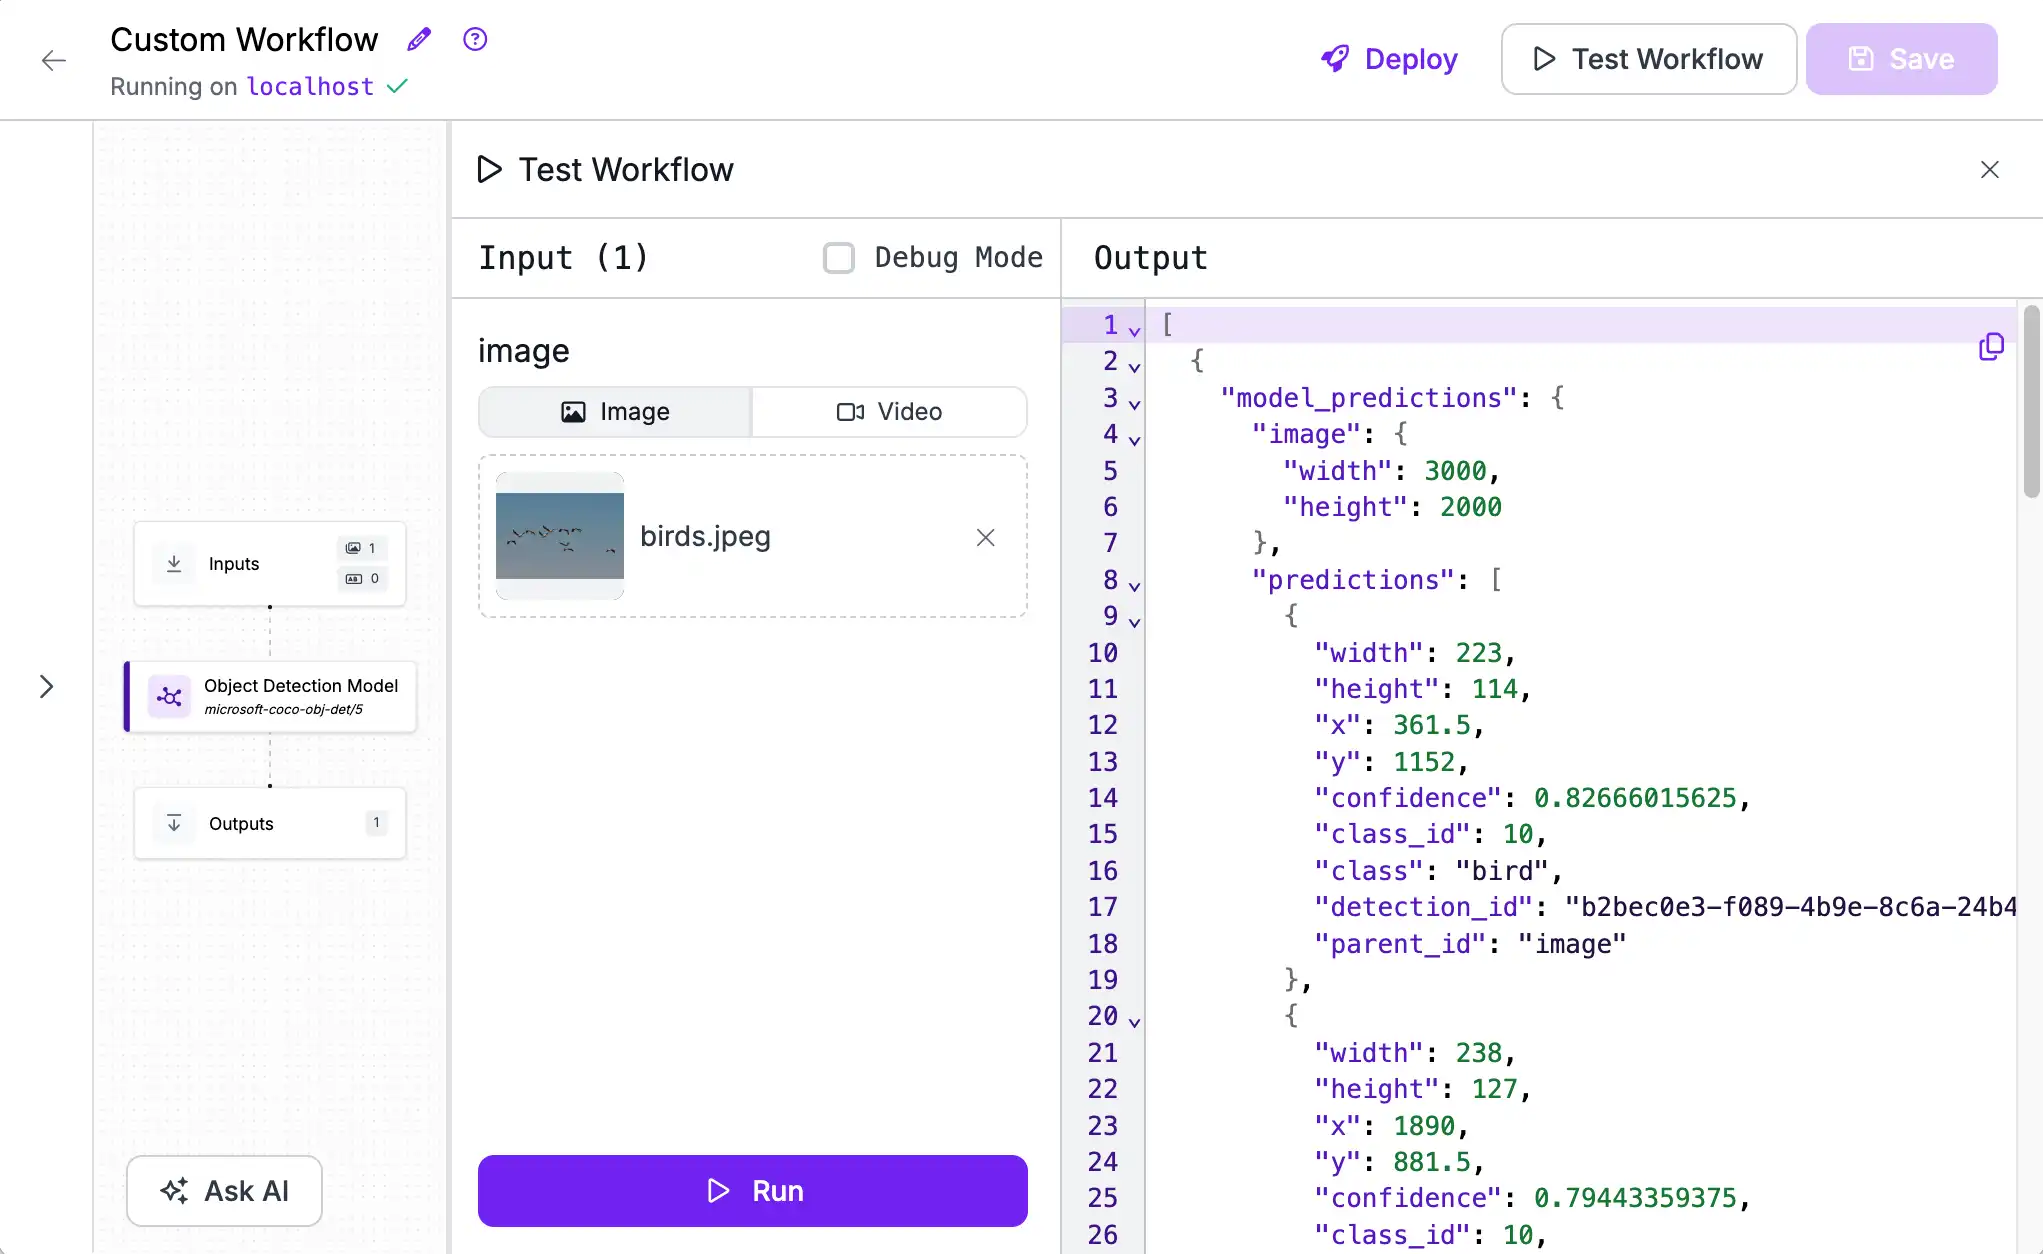
Once you've added a model, you can test it on an image or video. Click "Test Workflow" on the top right, then add an image and click "Run". By default, your output contains a JSON representation of the model's predictions.
Add a visualization
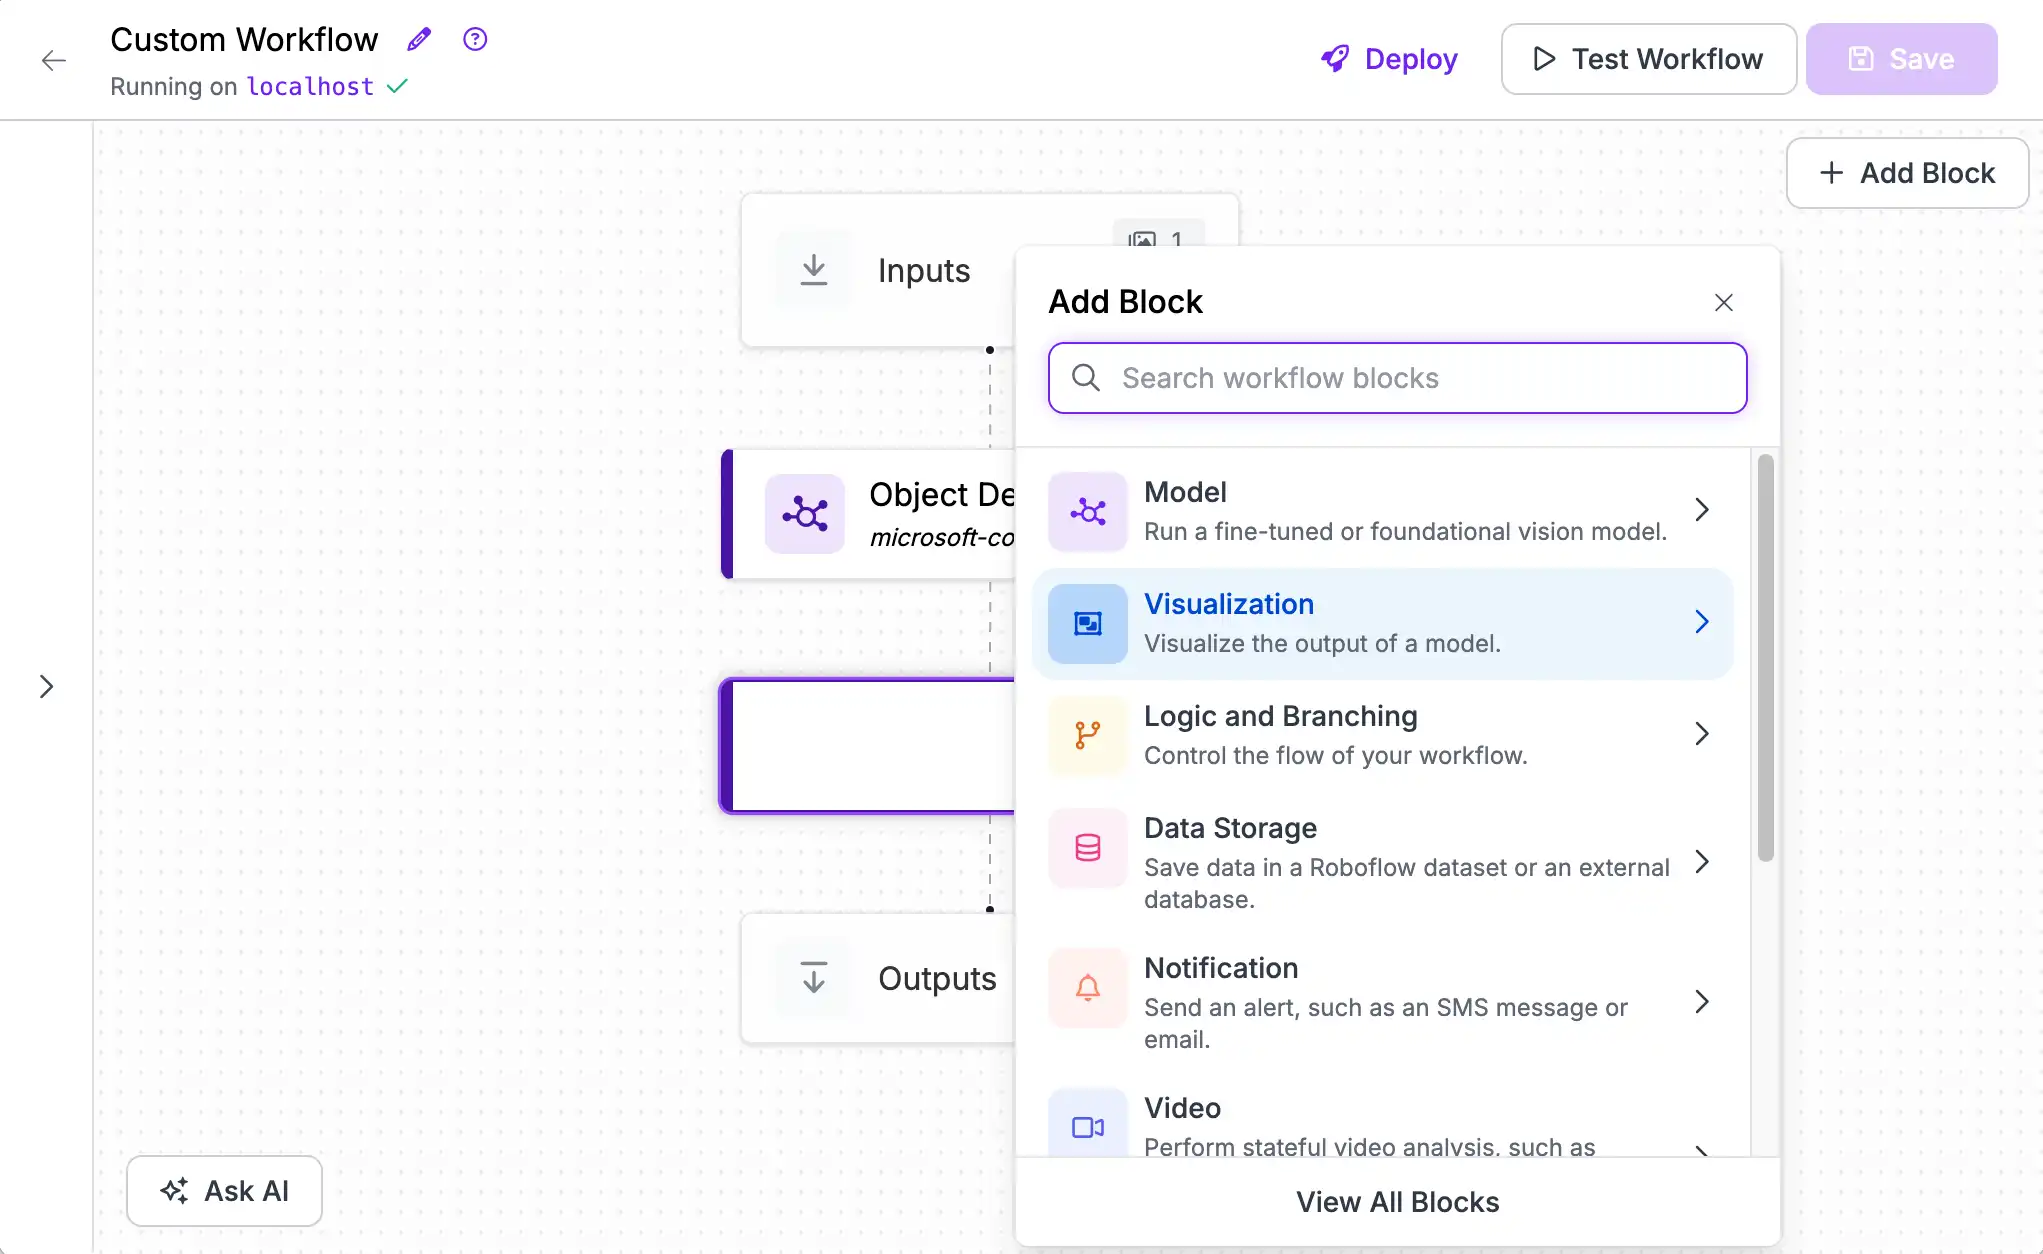
To get a better view of what your model is predicting, add a visualization block by clicking the "+" button at the bottom of the Object Detection Model block. The "Bounding Box Visualization" and "Label Visualization" work well together.
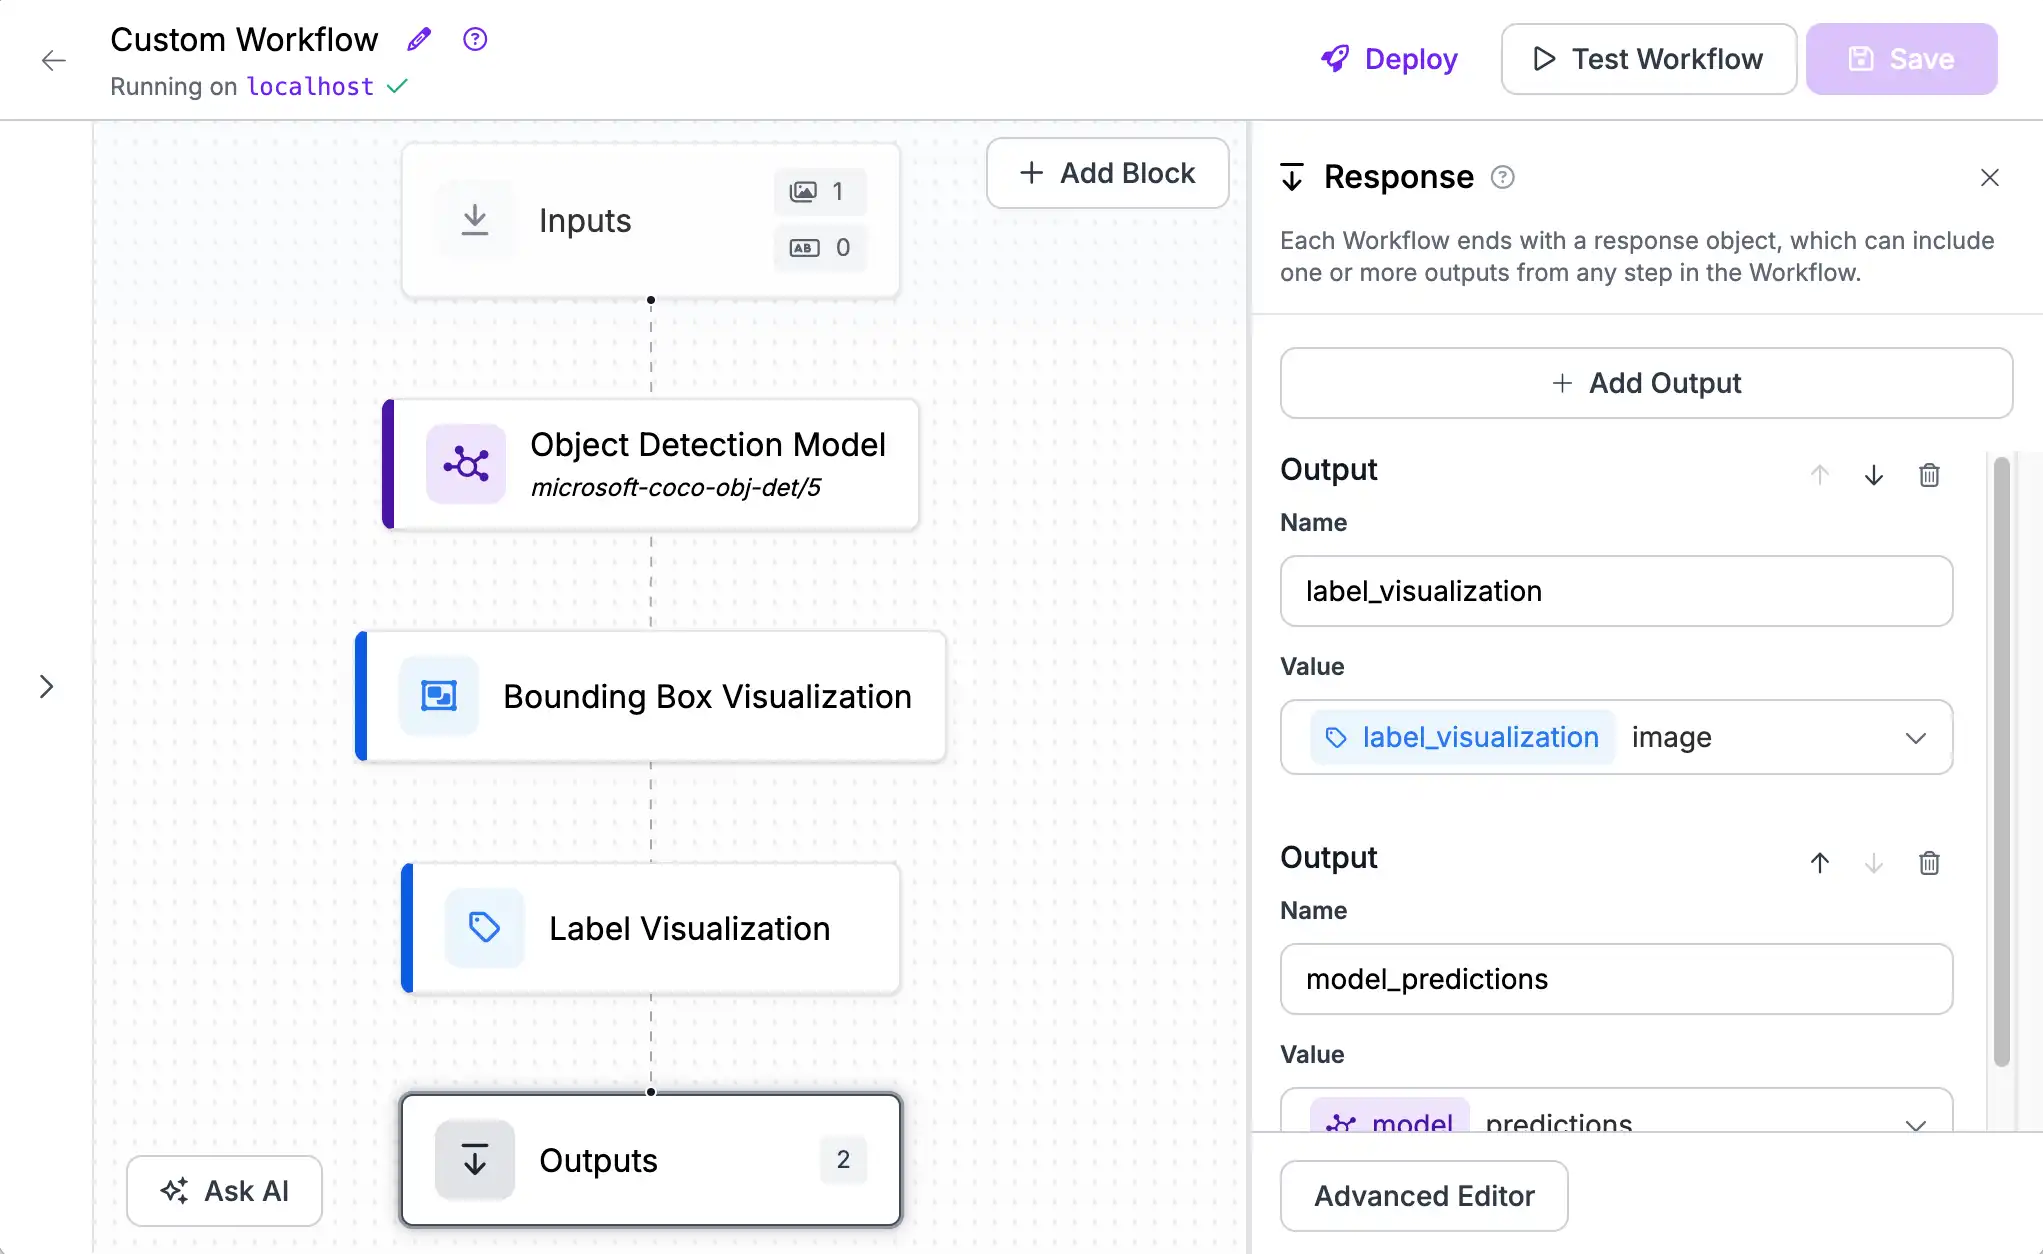
Next, we will swap the order of the outputs to show the visualization first (above the JSON) for convenience. Click the "Outputs" block, then click the "Move Up" button for the visualization you selected.
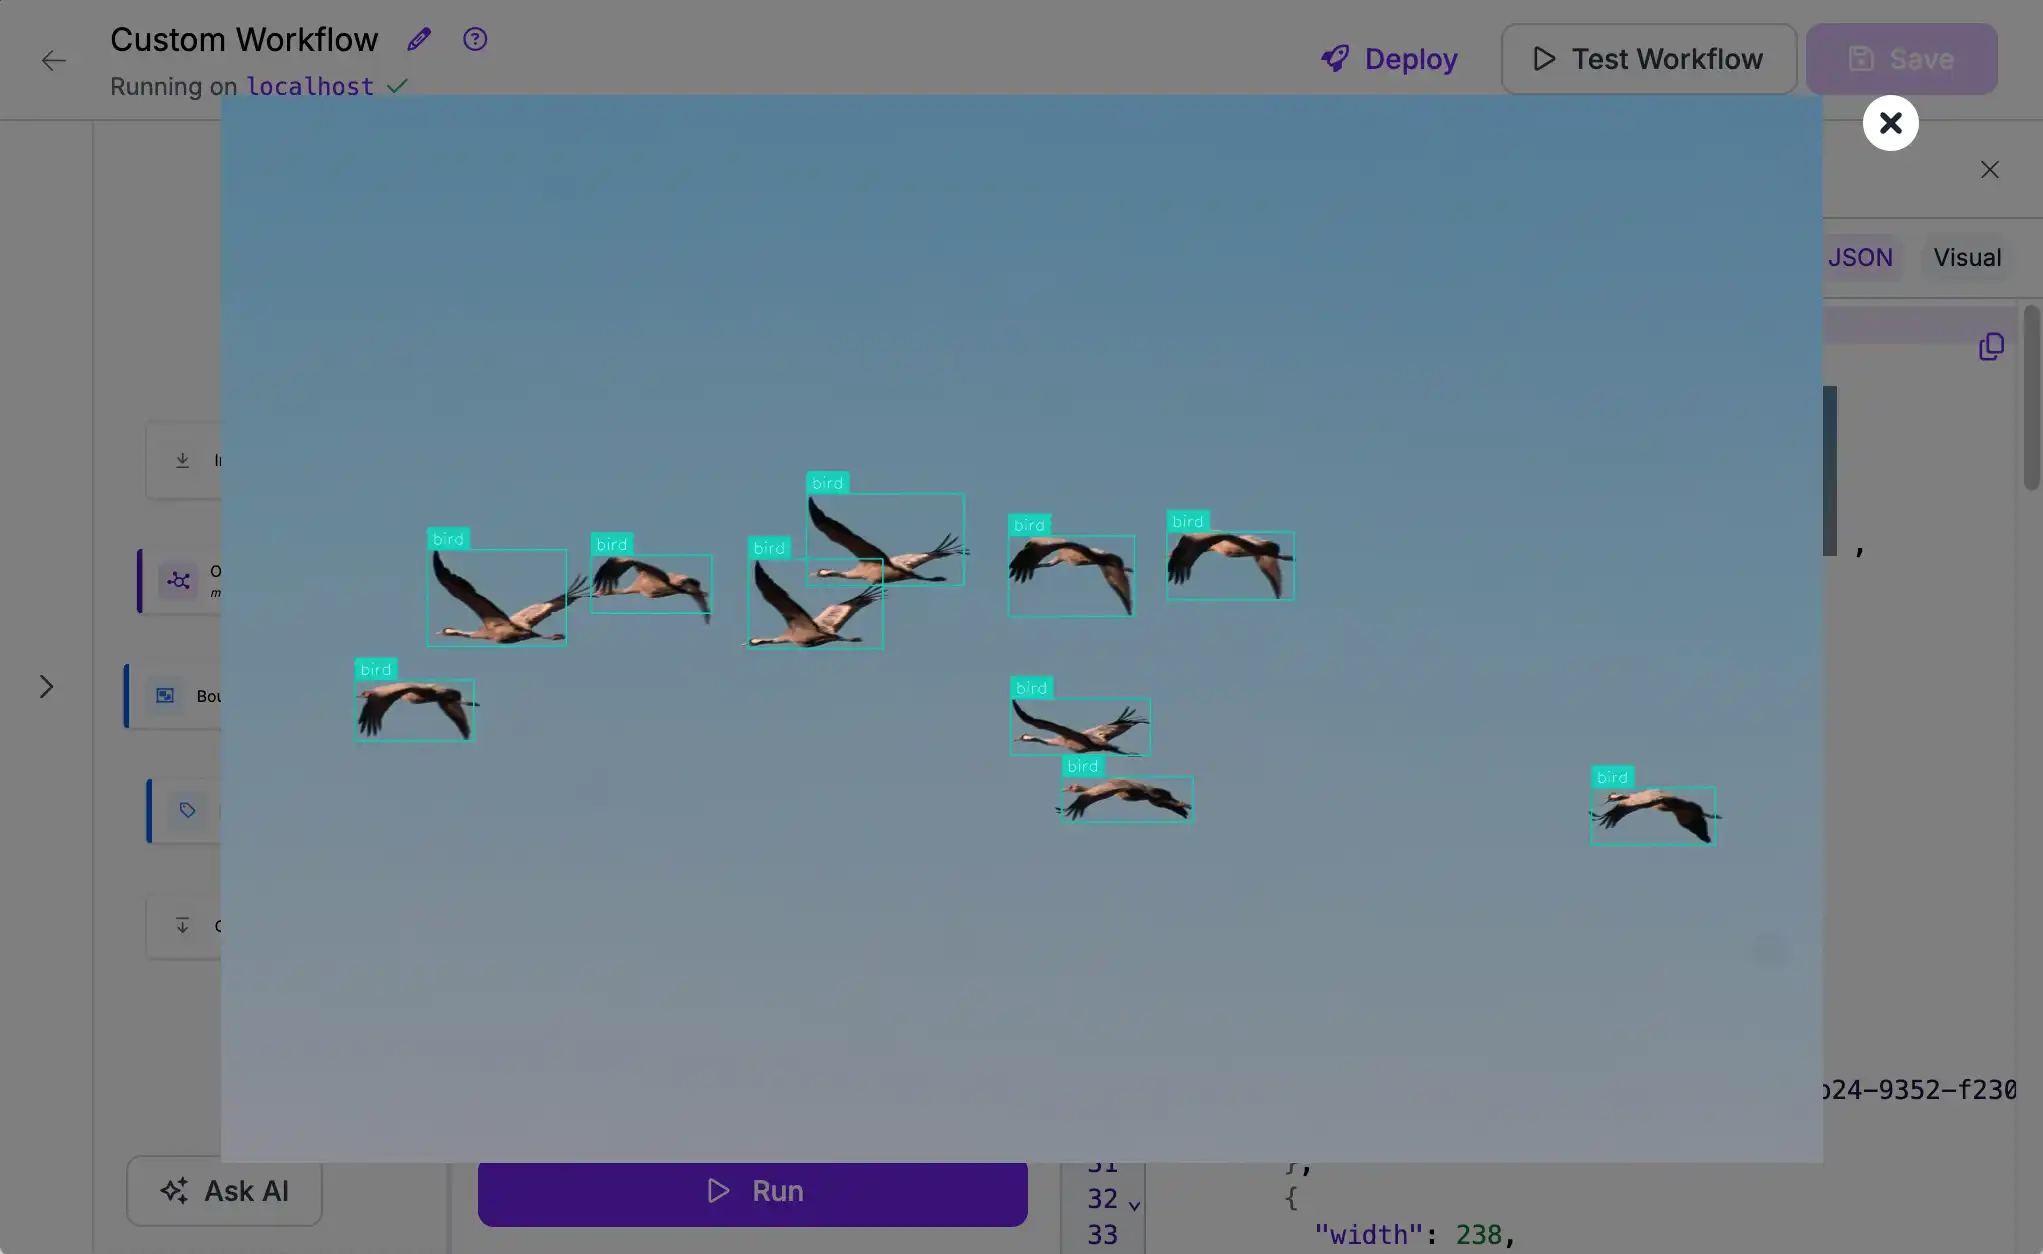
Now, when we test our Workflow we see a rendered image in addition to the JSON. This can be useful both for debugging and as part of an app's UI.
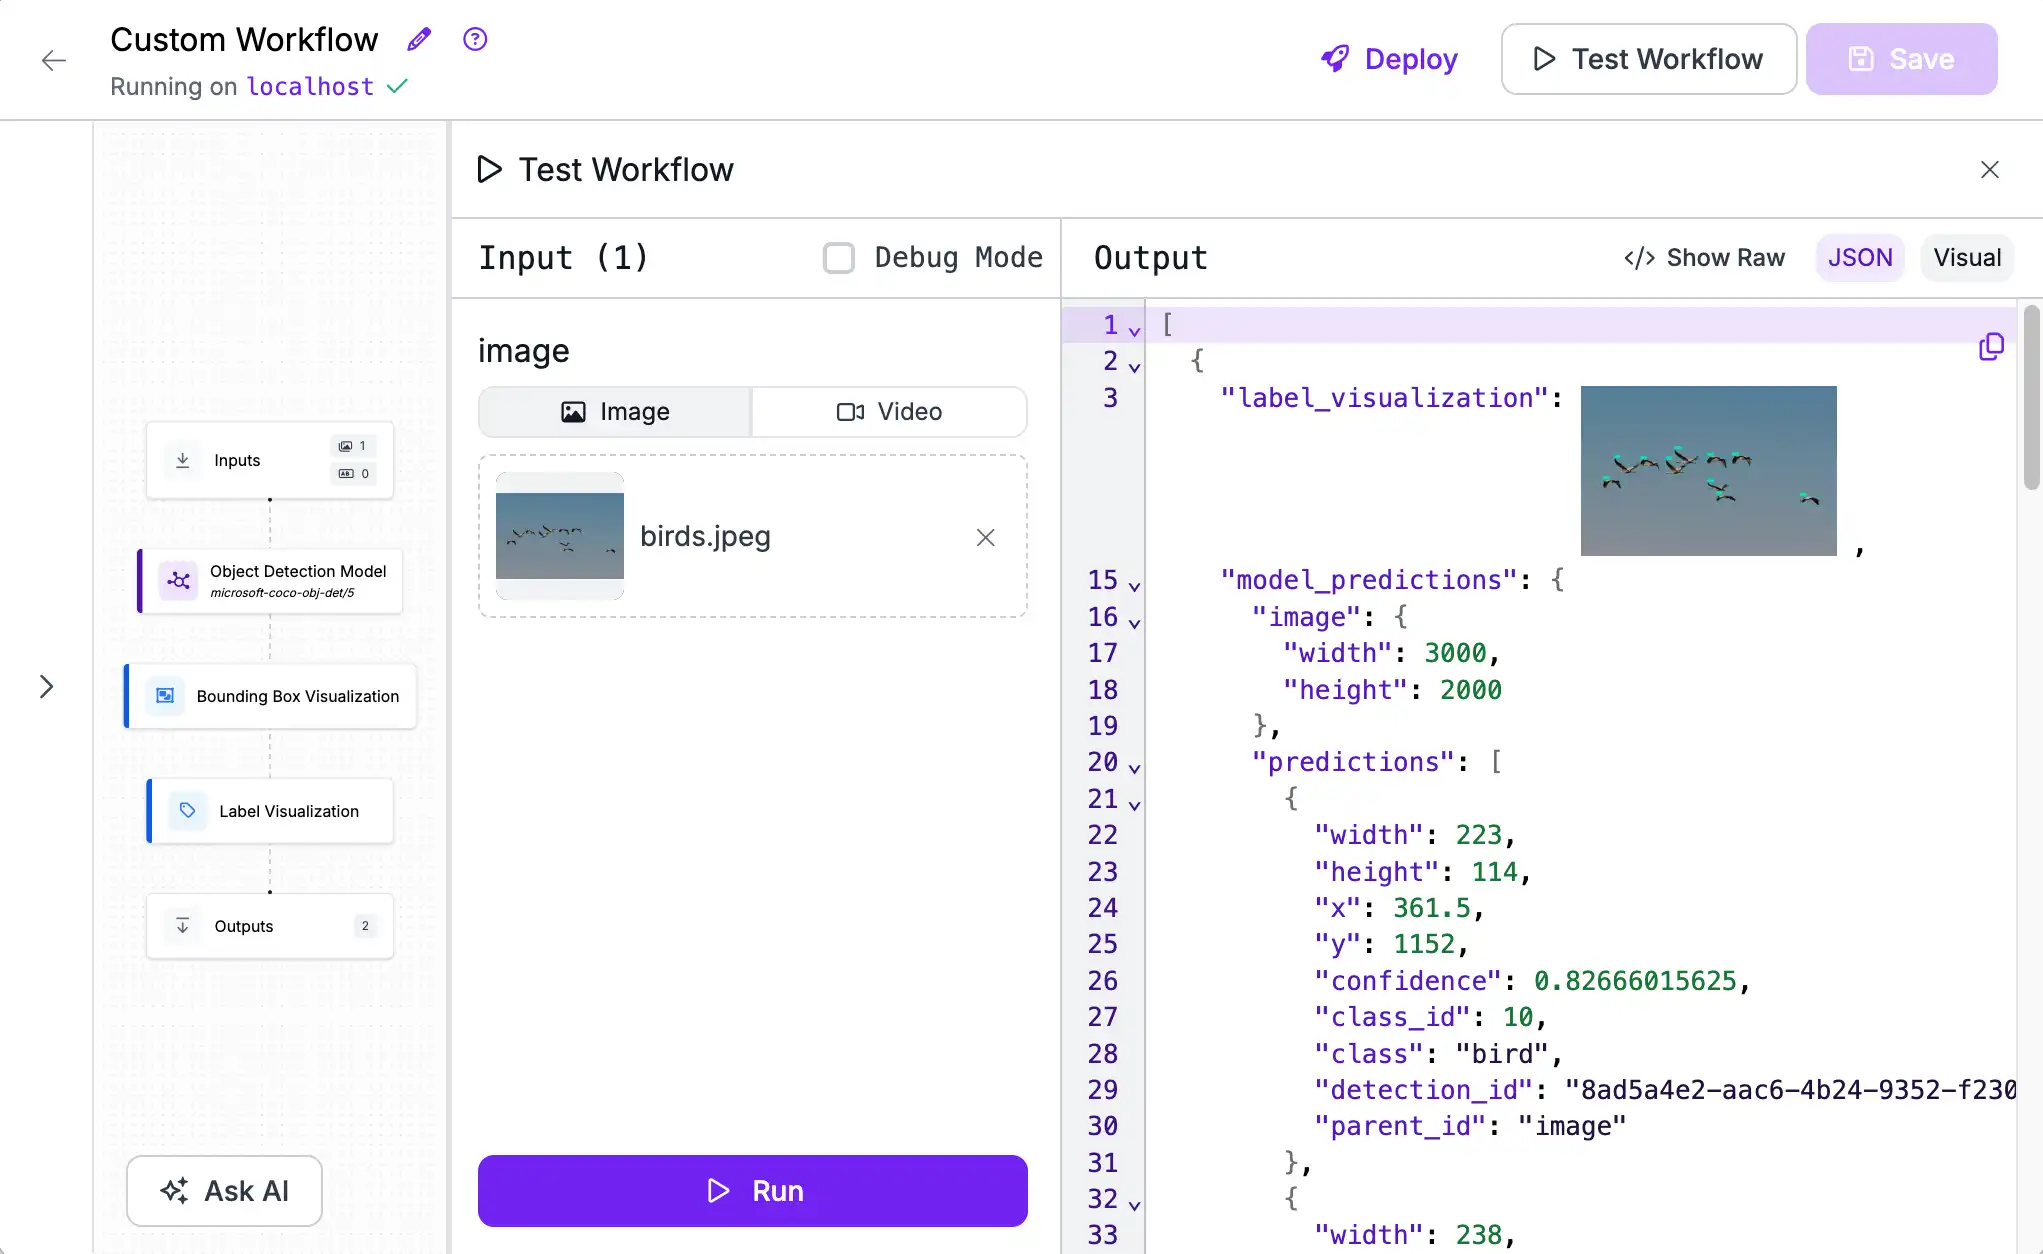
We can also click on the thumbnail (or the "Visual" output toggle) to see a larger version of the image.
Deploy
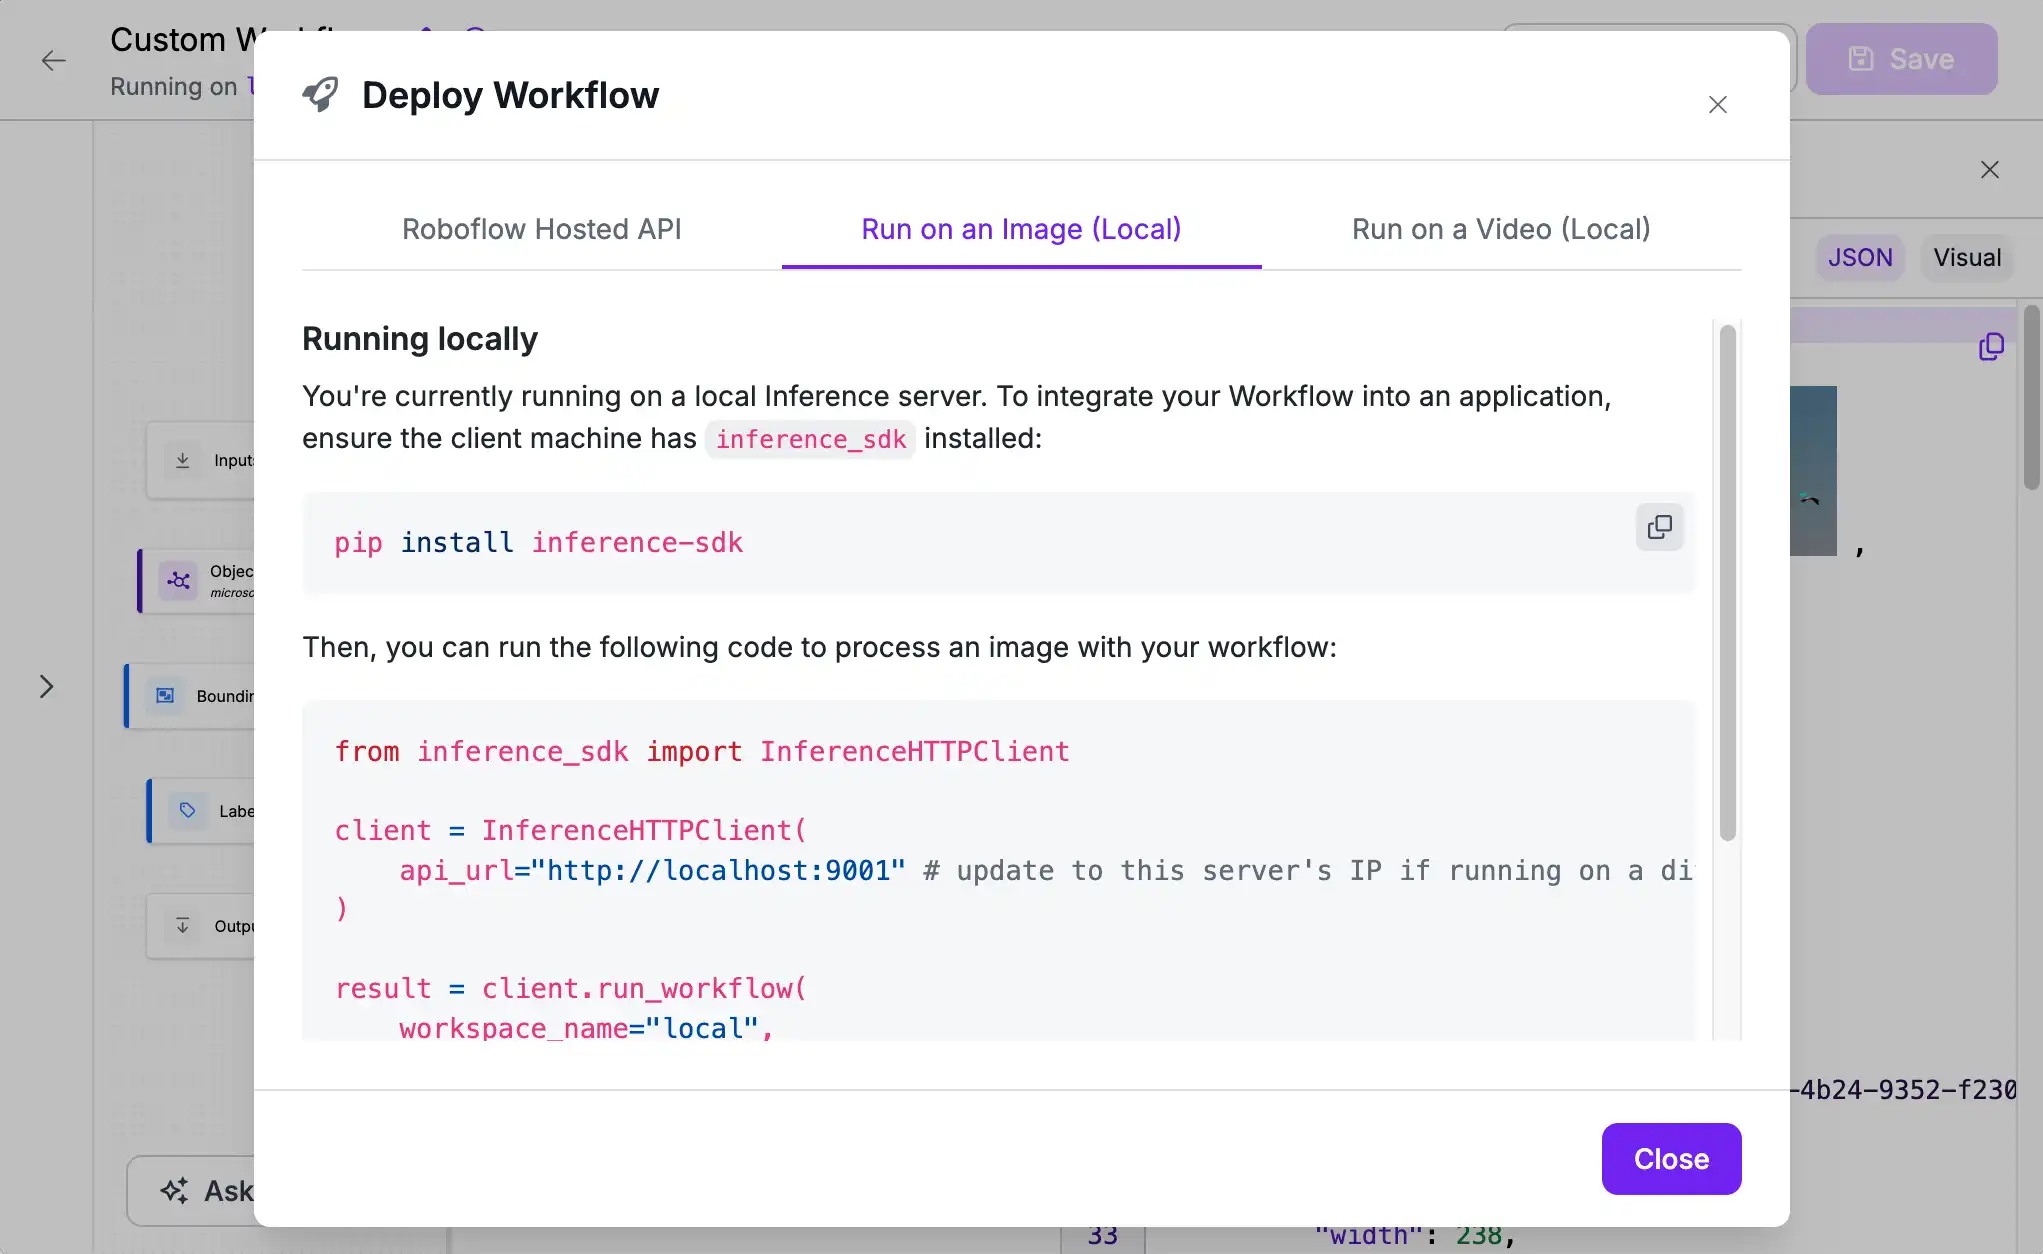
Finally, we can use this Workflow as part of a larger application using the client code snippet accessible via the "Deploy" button at the top of the screen.
Next steps
Now that we've built a simple Workflow and validated that we can connect and run models on our Inference Server, we can start building more complex and powerful Workflows like comparing the output of two models.