Preprocessing ensures your dataset is in a standard format (e.g. all images are the same size). This step is essential to ensure your dataset is consistent before training a model.
Preprocessing applies to all images in your Train, Valid, and Test set (unlike Augmentations, which only apply to the Train set).
The Roboflow platform offers the following preprocessing options:
- Auto-Orient
- Resize
- Grayscale
- Auto-Adjust Contrast
- Isolate Objects
- Static Crop
- Tile
- Modify Classes
- Filter Null
- Filter by Tag
Each option is described below.
Auto-Orient
Auto-orient strips your images of their EXIF data so that you see images displayed the same way they are stored on disk.
EXIF data determines the orientation of a given image. Applications (like Preview on Mac) use this data to display an image in a specific orientation, even if the orientation of how it is stored on disk differs.
- Roboflow recommends defaulting to leaving this on and checking how your images in inference are being fed to your model.
- If you want to learn more about whether or not you should auto-orient your images, check out our blog.
Resize
Resize changes your images size and, optionally, scale to a desired set of dimensions. Annotations are adjusted proportionally (except in the case of “fill” below).
Currently, we only support downsizing. We provide some guidance for what resize option may be best for your use case.
- Stretch to: Stretch your images to a preferred pixel-by-pixel dimension. Annotations are scaled proportionally. Images are square, distorted, but no source image data is lost.
- Fill (with center crop) in: The generated image is a centered crop of your desired output dimensions. For example, if the source image is 2600x2080 and the resize option is set to 640x640, the outputted resize is the central 640x640 of the source image. The aspect ratio is maintained, but source image data is lost.
- Fit within: The dimensions of the source dimension are scaled to be the dimensions of the output image while maintaining the source image aspect ratio. For example, if a source image is 2600x2080 and the resize option is set to 640x640, the longer dimensions (2600) is scaled to 640 and the secondary dimension (2080) is scaled to ~512 pixels. Image aspect ratios and original data are maintained, but they are not square.
- Fit (reflect edges) in: The dimensions of the source dimension are scaled to be the dimensions of the output image while maintaining the source image aspect ratio, and any newly created padding is a reflection of the source image. For example, if a source image is 2600x2080 and the resize option is set to 416x416, the longer dimensions (2600) is scaled to 416 and the secondary dimension (2080) is scaled to ~335.48 pixels. The remaining pixel area (416-335.48, or 80.52 pixels) are reflected pixels of the source image. Notably, Roboflow also reflects annotations by default. Images are square, padded, and aspect ratios plus original data are maintained.
- Fit (black edges) in: The dimensions of the source dimension are scaled to be the dimensions of the output image while maintaining the source image aspect ratio, and any newly created padding is black area. For example, if a source image is 2600x2080 and the resize option is set to 416x416, the longer dimensions (2600) is scaled to 416 and the secondary dimension (2080) is scaled to ~335.48 pixels. The remaining pixel area (416-335.48, or 80.52 pixels) are black pixels. Images are square, black padded, and aspect ratios plus original data are maintained.
- Fit (white edges) in: The dimensions of the source dimension are scaled to be the dimensions of the output image while maintaining the source image aspect ratio, and any newly created padding is white area. For example, if a source image is 2600x2080 and the resize option is set to 416x416, the longer dimensions (2600) is scaled to 416 and the secondary dimension (2080) is scaled to ~335.48 pixels. The remaining pixel area (416-335.48, or 80.52 pixels) are white pixels. Images are square, white padded, and aspect ratios plus original data are maintained.
Grayscale
Converts an image with RGB channels into an image with a single grayscale channel, which can save you memory. The value of each grayscale pixel is calculated as the weighted sum of the corresponding red, green and blue pixels: Y = 0.2125 R + 0.7154 G + 0.0721 B.
These weights are used by CRT phosphors as they better represent human perception of red, green and blue than equal weights. (Via Scikit-Image.)
Auto-Adjust Contrast
Enhances an image with low contrast. We've explored whether you want to use contrast as a preprocessing step.
- Contrast Stretching: the image is rescaled to include all intensities that fall within the 2nd and 98th percentiles. See more.
- Histogram Equalization: “spreads out the most frequent intensity values” in an image. The equalized image has a roughly uniform distribution, where all colors of pixels are approximately equally represented. See more.
- Adaptive Equalization: Contrast Limited Adaptive Histogram Equalization (CLAHE). An algorithm for local contrast enhancement, that uses histograms computed over different tile regions of the image. Local details can therefore be enhanced even in regions that are darker or lighter than most of the image. (Via Scikit-Image.)
Advanced Preprocessing Features
Isolate Objects
The Isolate Objects transform will crop and extract each bounding box into an individual image. This step converts Object Detection datasets into Classification datasets.
In cases where many classes in a dataset are similar, it is common to use two models in sequence. The first model (object detection) finds the object and the second model (classification) identifies what the object is. The Isolate Objects transformation is useful for creating the dataset necessary for training the second model.
Static Crop
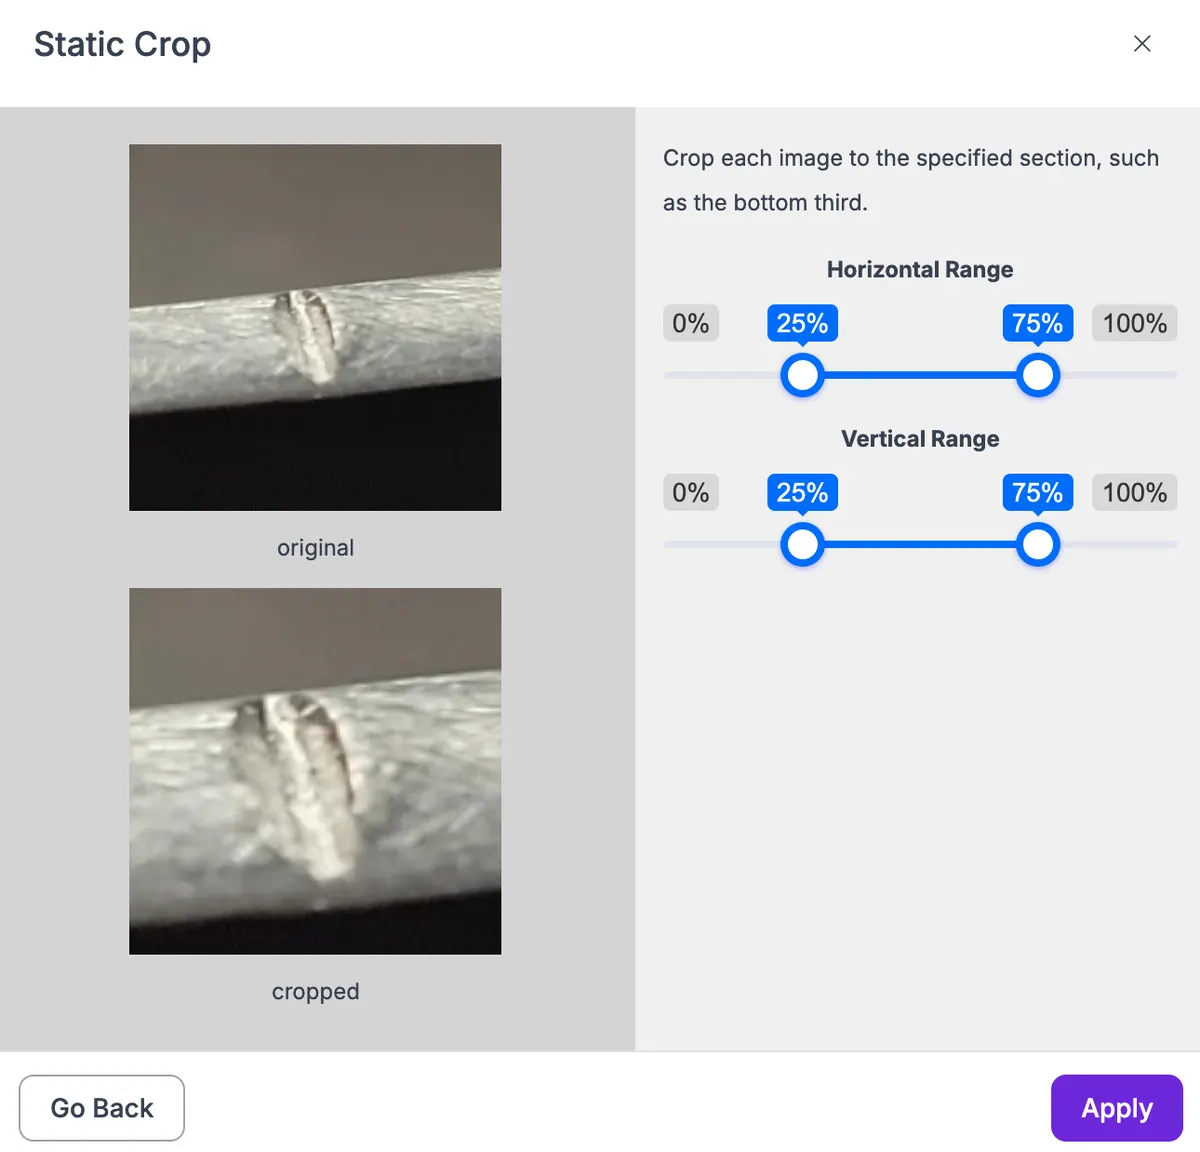
Static Crop applies a fixed, percentage-based crop region to every image in your dataset. You define the region using minimum and maximum width and height percentages, and Roboflow crops each image to that same relative area. This lets you zoom into a consistent region of interest, removing irrelevant borders or background before training so your model focuses on the part of the frame that matters.
Tile
Tiling can help when detecting small objects (especially in situations like aerial imagery and microscopy. The default setting is 2x2 tiling, however, you can adjust this as you see fit. Tiling is performed before resizing in the preprocessing pipeline.
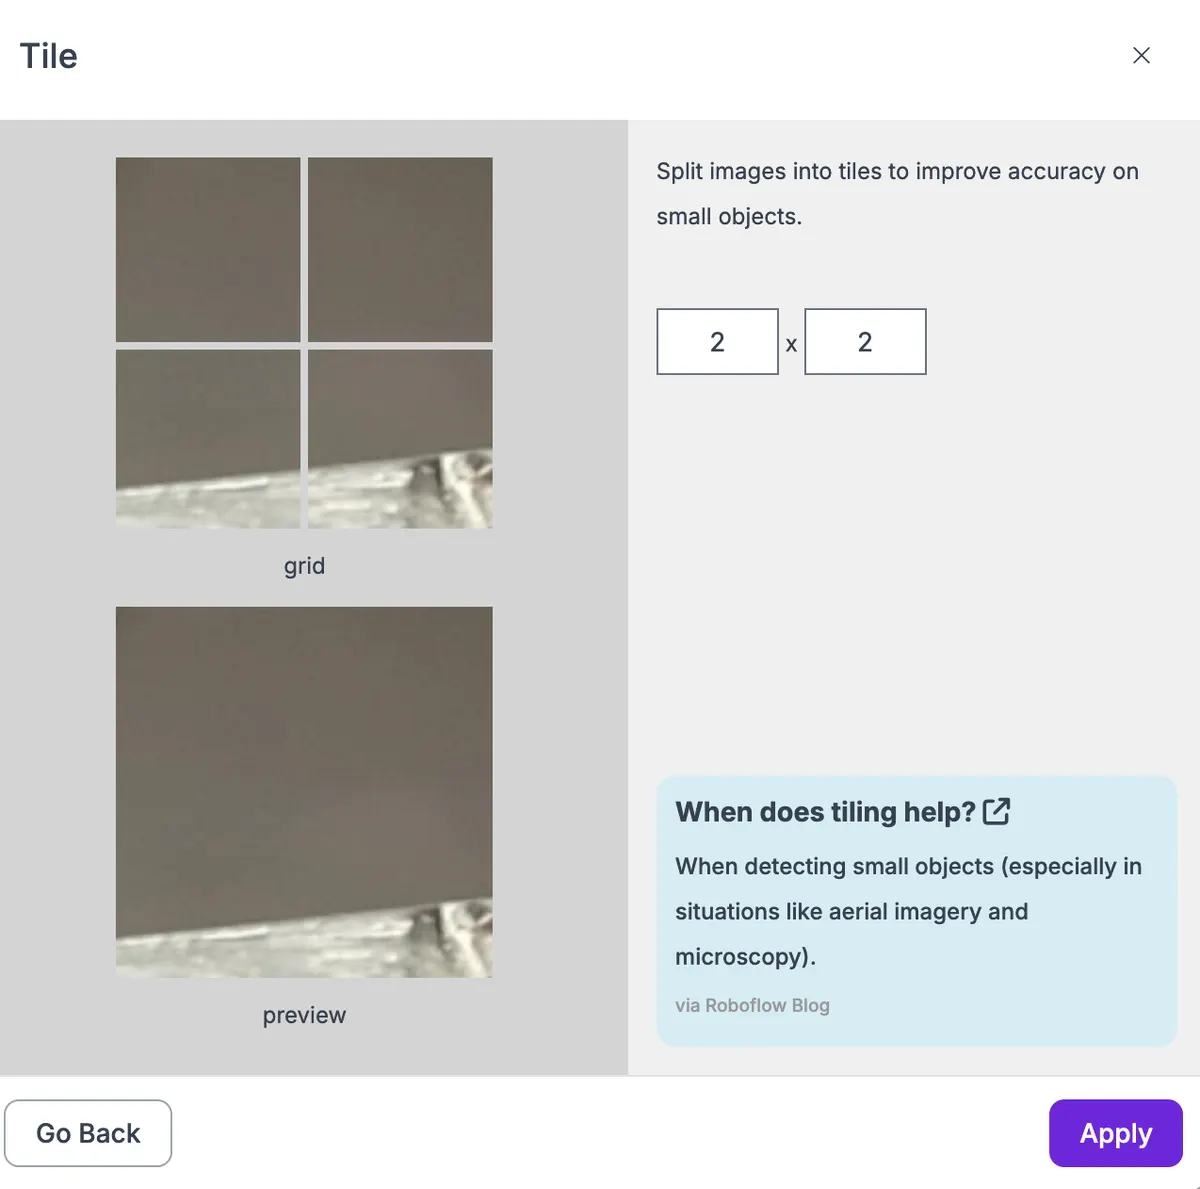
There are three tiling modes.
| Mode | What it does | Settings |
|---|---|---|
| Grid | Splits each image into equal rows and columns. Tile size changes with the size of the image. | Rows, columns |
| Fixed Size | Cuts every tile at the exact pixel size you set, so no tile is resized or distorted. Set it to your model input size (ex: 640 x 640). | Width, height, overlap, padding color |
| Fixed Aspect Ratio | Cuts tiles that keep the width to height ratio you set. Each tile spans the full width or the full height of the image. | Aspect ratio, span, overlap, padding color |
Fixed Size and Fixed Aspect Ratio have two extra settings. Overlap is how much of each tile is shared with the next tile, in percent. Use it when objects sit on tile borders. Padding color (black or white) fills the leftover space at the right and bottom edge of an image, because every tile comes out at full size.
Tiles must be at least 224 pixels on each side. In Fixed Aspect Ratio mode, images too small to make a tile that size are kept whole.
You cannot combine Fixed Size or Fixed Aspect Ratio with Isolate Objects or Dynamic Crop. Those steps crop each image on its own, so a tile of a set size no longer matches the image. Use Grid instead.
Roboflow does not estimate the version size for Fixed Size and Fixed Aspect Ratio, because the number of tiles depends on the size of each image.
Fixed Size and Fixed Aspect Ratio are available in the app for selected workspaces. Contact sales to turn them on. The API accepts all three modes for any workspace.
Modify Classes
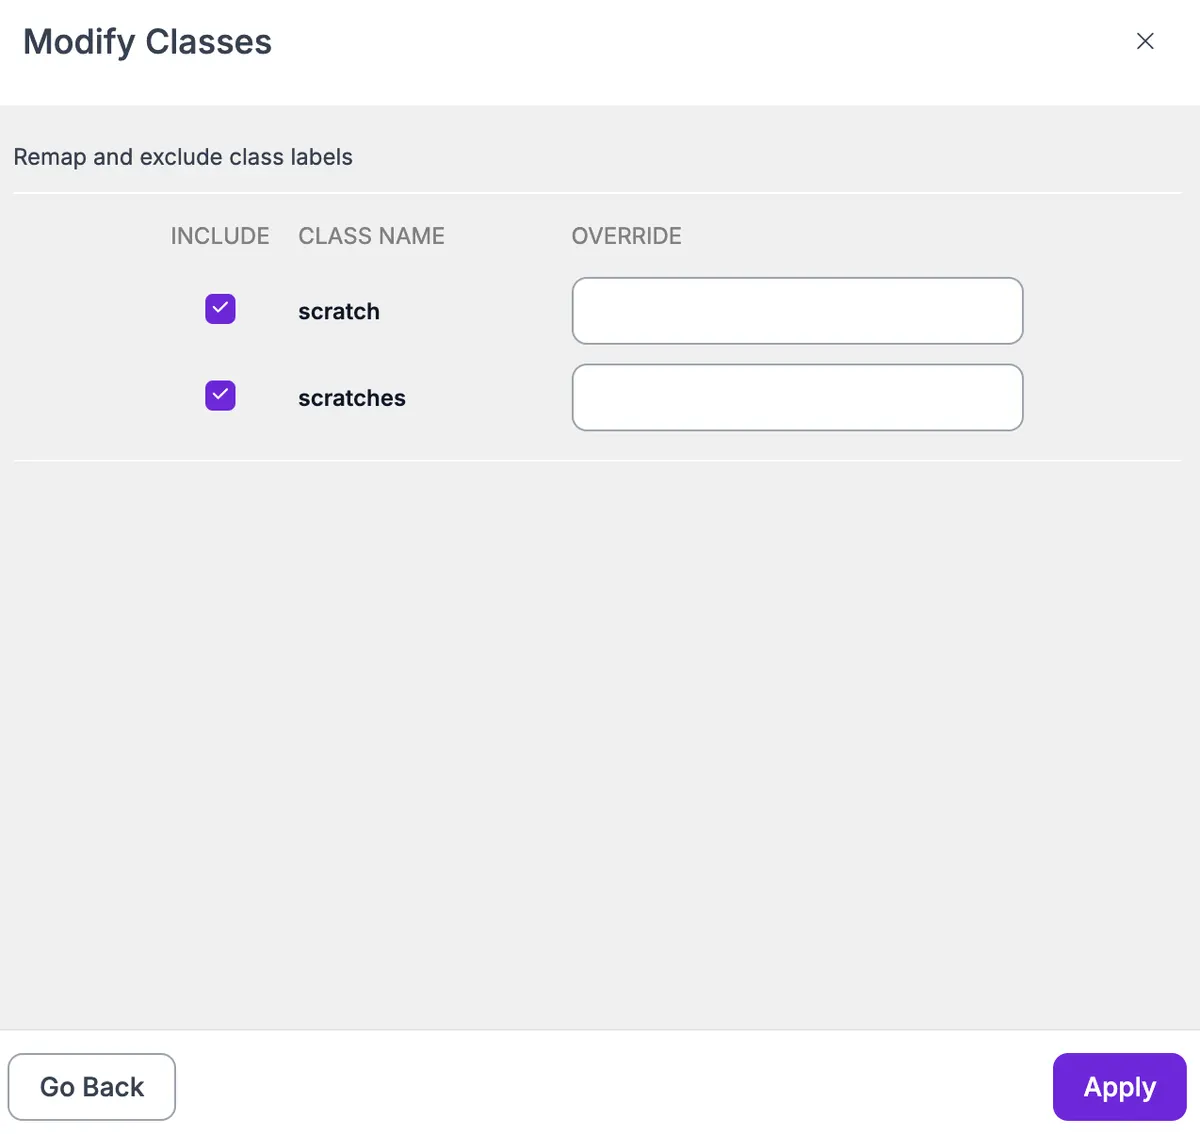
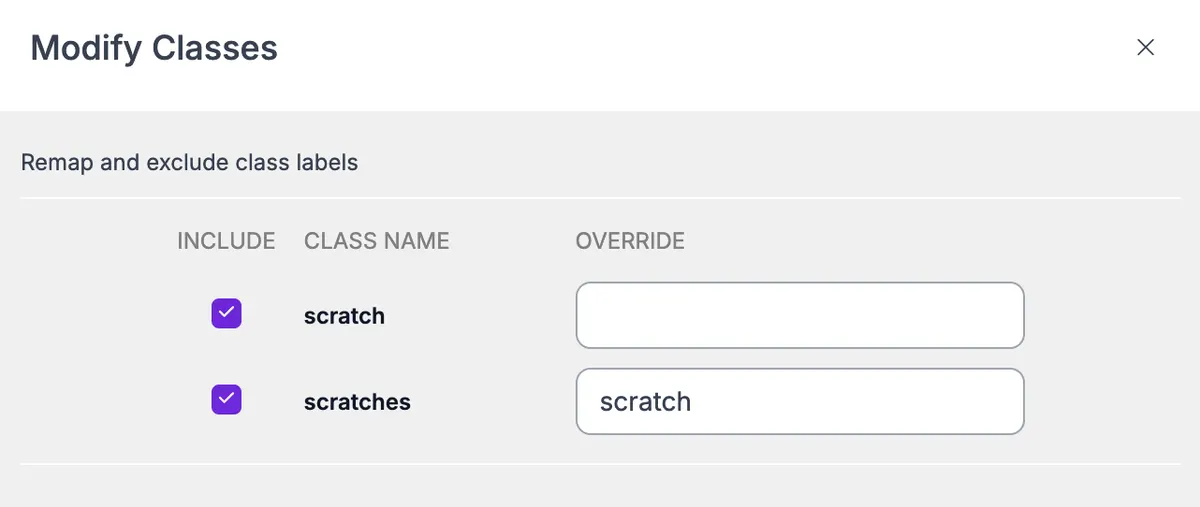
A preprocessing tool used to omit specific classes or remap (rename) classes when generating a new version of your dataset. These changes only apply to the version you generate. No changes will be made to your underlying dataset.
Filter Null
The Filter Null transformation allows users to require a share of images in a dataset to be annotated. Images marked as null annotation, or "unannotated" after applying the Modify Classes tool, are the only ones affected when using Filter Null.
This transformation is useful in the case where a large share of a dataset does not contain the objects of interest.
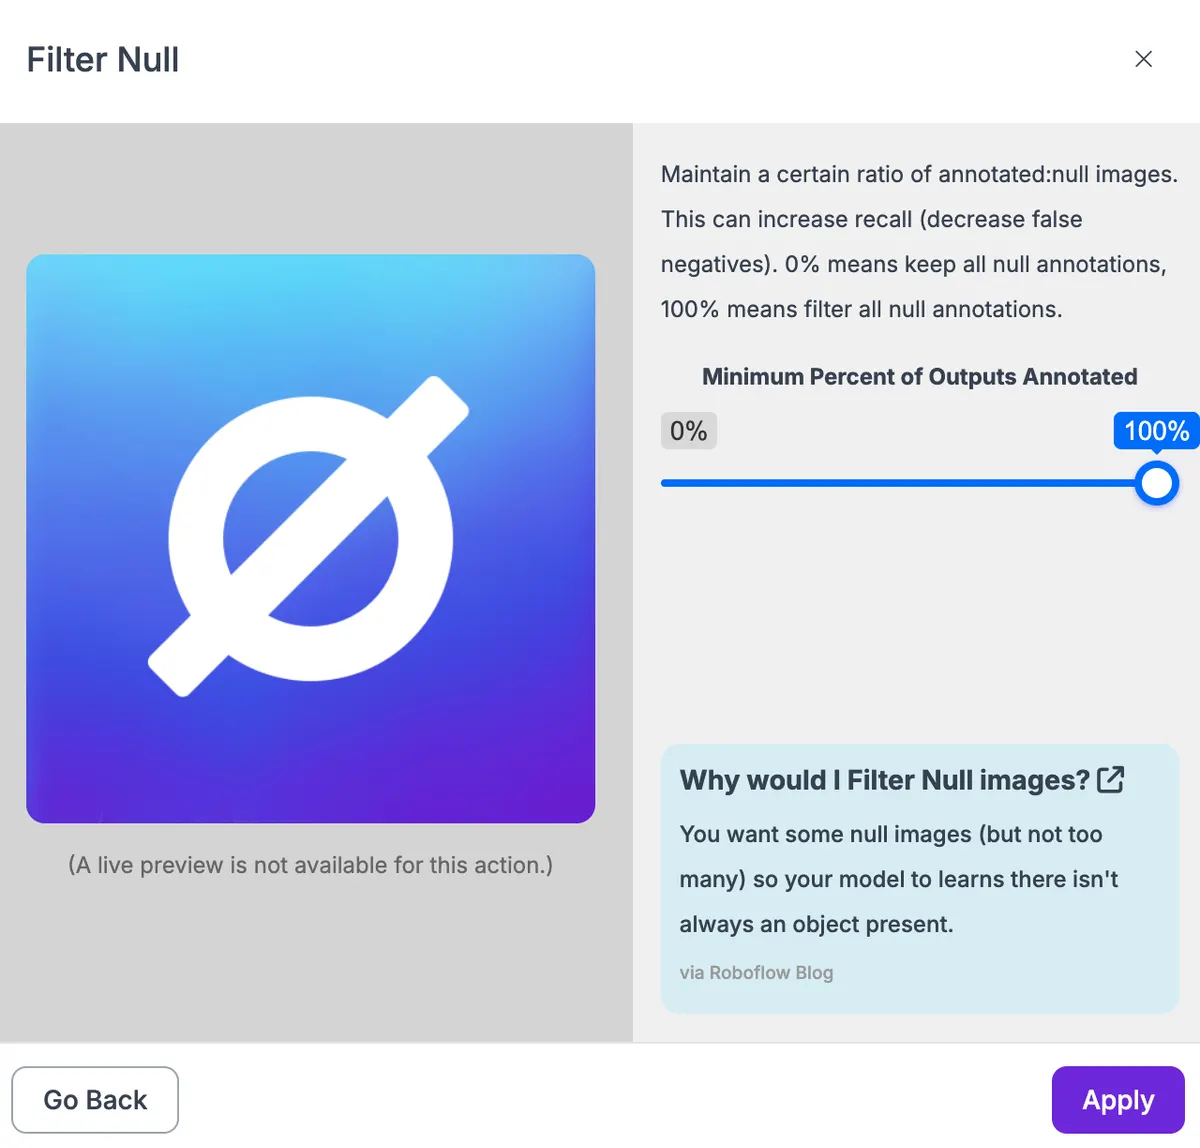
Be sure that you have properly annotated ALL images within your dataset, designated appropriate images as null annotation, and/or omitted any unnecessary classes prior to using this tool.
The Difference Between Missing and Null Annotations
"Missing Annotations" occur when images are not annotated (leaving images unannotated will cause issues with the performance of your trained dataset, and can result in a failed training). Null annotations should only be applied when there is nothing present within that image that you wish for your model to detect.
Filter by Tag
The Filter by Tag transformation allows users to filter which images should or should not be included in a version based on which Tags are applied. This transformation is useful for training a model on a new subset of data or excluding unwanted images from training.
Three options are available for each Tag:
- Require: Only images with Required tags will be included in the version.
- Exclude: Images with Excluded tags will not be included in the version.
- Allow: Images with Allowed tags will be included in the version, conditional on Exclude and Require rules.
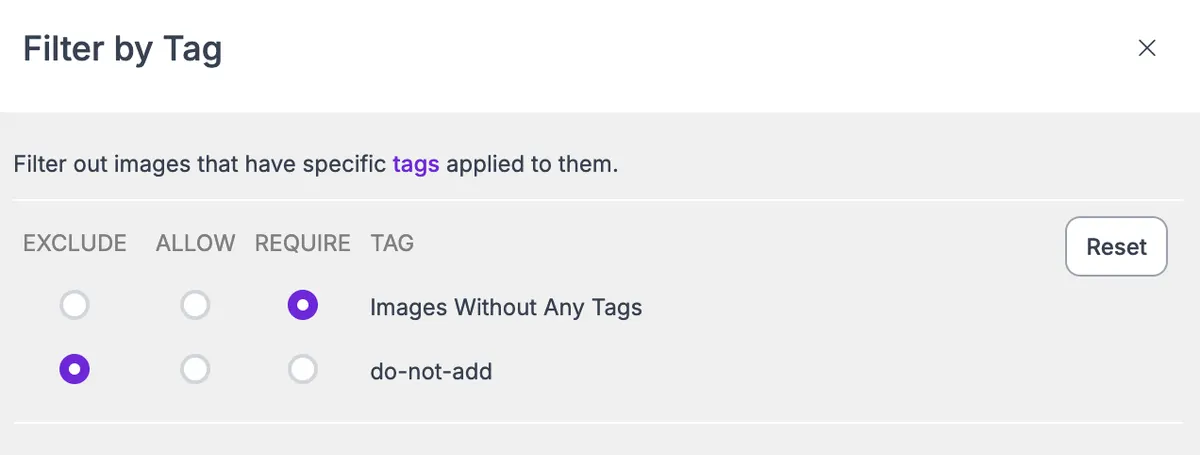
do-not-include tag.